Artificial
Enum
NMAP
PORT   STATE SERVICE VERSION
22/tcp open  ssh     OpenSSH 8.2p1 Ubuntu 4ubuntu0.13 (Ubuntu Linux; protocol 2.0)
| ssh-hostkey:
|   3072 7c:e4:8d:84:c5:de:91:3a:5a:2b:9d:34:ed:d6:99:17 (RSA)
|   256 83:46:2d:cf:73:6d:28:6f:11:d5:1d:b4:88:20:d6:7c (ECDSA)
|_  256 e3:18:2e:3b:40:61:b4:59:87:e8:4a:29:24:0f:6a:fc (ED25519)
80/tcp open  http    nginx 1.18.0 (Ubuntu)
|_http-title: Artificial - AI Solutions
|_http-server-header: nginx/1.18.0 (Ubuntu)
Service Info: OS: Linux; CPE: cpe:/o:linux:linux_kernel
Dirsearch
Target: http://artificial.htb/

[22:13:55] Starting:
[22:14:25] 302 -  199B  - /dashboard  ->  /login
[22:14:36] 200 -  857B  - /login
[22:14:37] 302 -  189B  - /logout  ->  /
[22:14:49] 200 -  952B  - /register
Shell using tensorflow vulnerability
- Setup Docker Image
- Install Vim, remove export and build the image
- Run the python code to create our exploit
- Upload the .h5 file through the file upload
Shell popped
We can see app.py in the home directory
- We see that the flask app.secret_key is Sup3rS3cr3tKey4rtIfici4L
- This is what flask uses for token signing.
We can also see a database called users.db:
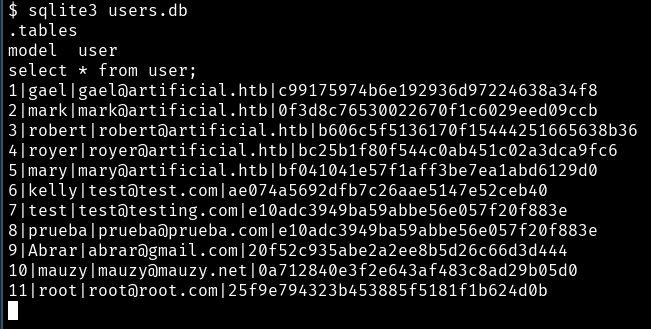 We can also see that this is stored and hashed with md5
- Using crackstation.net we can get most of the user’s passwords:
| User | Pass |
|---|---|
| gael | mattp005numbertwo |
| royer | marwinnarak043414036 |
| kelly | kelly |
| test | 123456 |
| prueba | 123456 |
| root | 123456789 |
| I suspect the last three users are created by other connected CTF players . |
-
Then trying SSH on the server with these creds we get access to a user account
-
We then get the user flag
-
Upload linpeas
-
check /etc/laurel/config.toml
-
Laurel is a Linux audit system for SIEM usage that often runs with root privileges.
- The config.toml is writable by the current user.
Linpeas
ssh -L 9898:localhost:9898 [email protected]- There is a service running on localhost:9898 on the remote server.
- This command will allow us to view this service in our browser.
- When doing this, we see a login page for Backrest.
- Backrest is a web-accessible backup solution built on top of restic. Backrest provides a WebUI which wraps the restic CLI and makes it easy to create repos, browse snapshots, and restore files.
- Our credentials for ssh don’t work here
- We see we can access a backup. Let’s try to take a look at it:

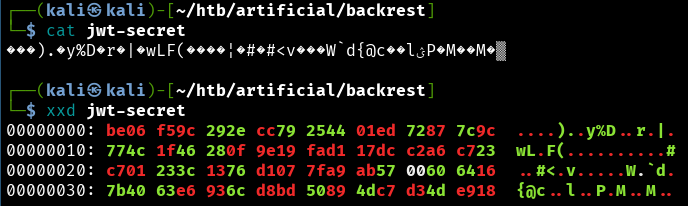
- Extracting this we see jwt-secret.
- Getting the hex values we get:
 Base64:
vgb1nCkuzHklRAHtcod8nHdMH0YoD54Z+tEX3MKmxyPHASM8E3bRB3+pq1cAYGQWe0Bj5pNs2L1QiU3H003pGA==
-
This was useless…
-
A .config file was hiding from me in the downloaded backrest directory
- Thanks for the tip flossy :3
here we get a login->
backrest_root:JDJhJDEwJGNWR0l5OVZNWFFkMGdNNWdpbkNtamVpMmtaUi9BQ01Na1Nzc3BiUnV0WVA1OEVCWnovMFFP
-
This is in base64 so we just decode that and send it to john the ripper
john wordlist=/usr/share/wordlists/rockyou.txt format=bcrypt hash.txt- Then we get the portal password: !@#$%^
-
Logging in, we see a dashboard where we can create plans and repositories.
-
I created a repository that stores the logs locally in
/srv/restic, as described in the documentation. -
For the plan, I choose to backup
/root.- When I force the backup to start we can see it creates a backup of all data in
/root. - From there I navigate to the backups just created and we can “restore” then download an archive of the file. In there we get the root.txt flag.
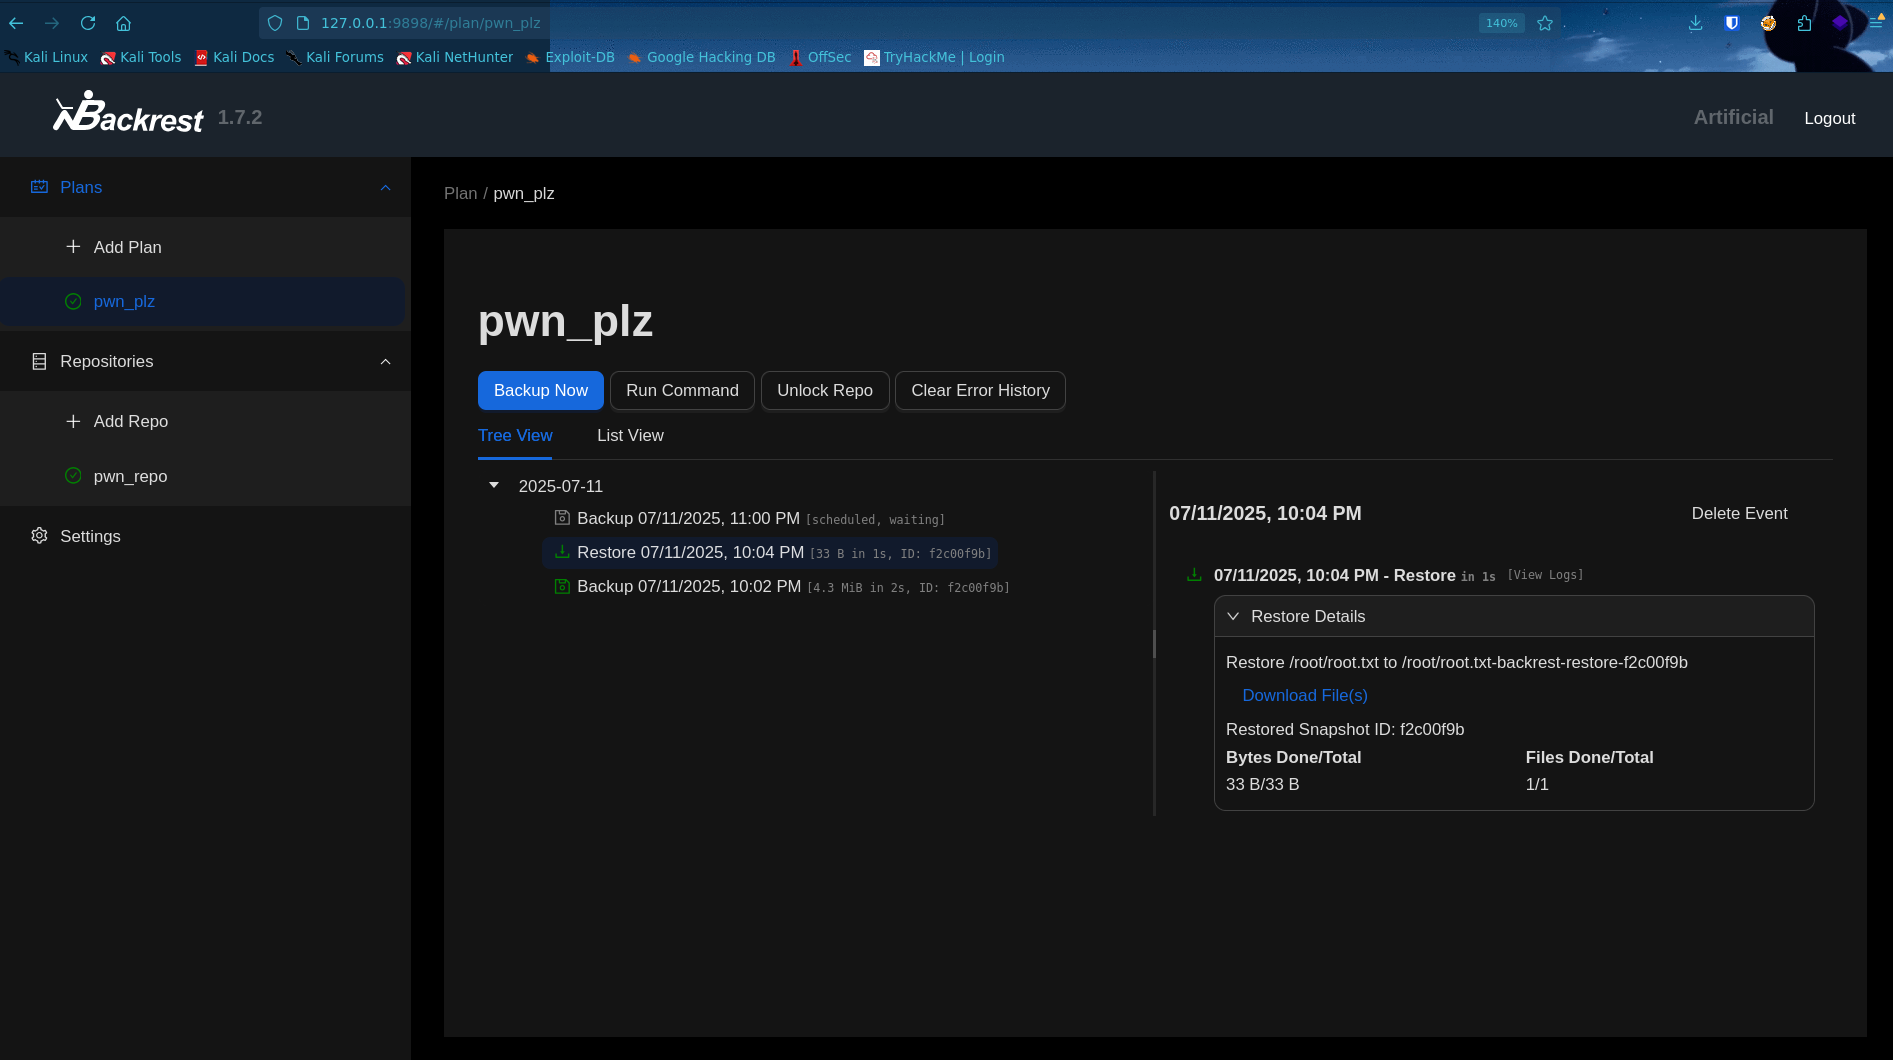
- When I force the backup to start we can see it creates a backup of all data in
-
A friend that was doing the same CTF found another way to get the root flag. So this isn’t this only way!